How To Test a Motherboard?
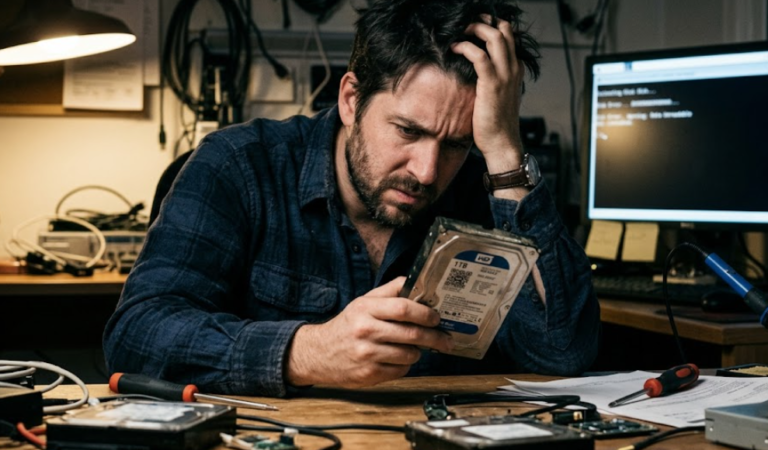
A motherboard controls communication between the CPU, RAM, storage, and power components. A faulty motherboard causes system crashes, no display errors, power failures, or random restarts. Users often face difficulty identifying whether the motherboard or another component has failed.
Accurate motherboard testing prevents unnecessary hardware replacement and reduces troubleshooting time. A structured diagnostic process helps isolate electrical faults, component failures, and BIOS issues.
This guide explains how to test a motherboard using practical steps, basic tools, and advanced diagnostic techniques that technicians and PC builders commonly use.
How To Test a Motherboard Step by Step
Test a motherboard by confirming power delivery, isolating components, and checking physical and electrical signals. Follow these steps in order to identify the fault source.
Step 1: Perform a Visual Inspection
Start with a physical inspection because visible damage often confirms motherboard failure.
Check the following components:
- Capacitors: Look for bulging tops or leaking fluid.
- Burn marks: Inspect the PCB surface for dark spots or melted areas.
- Loose connections: Verify that connectors sit firmly in their sockets.
- Dust accumulation: Remove heavy dust that may cause overheating.
- Bent CPU socket pins: Inspect pins using proper lighting.
Visible capacitor damage indicates unstable voltage delivery. Burn marks suggest electrical short circuits.
Step 2: Verify Power Supply Connection
Confirm stable power input before assuming motherboard failure.
Perform these checks:
- Ensure the 24-pin ATX connector connects firmly to the motherboard.
- Ensure the 8-pin CPU power connector remains fully inserted.
- Confirm the power supply unit switch stays in the ON position.
- Test the power cable using another working device.
Use a known working power supply unit when possible. Faulty power supplies often mimic motherboard failure symptoms.
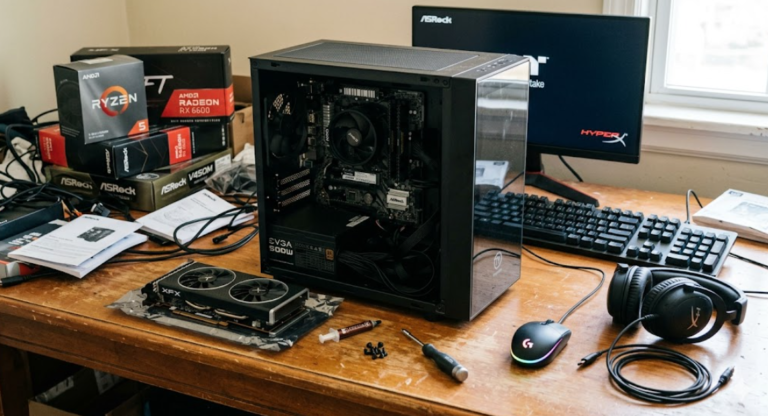
Step 3: Test Motherboard Without External Components
Remove non-essential components to isolate the motherboard.
Disconnect the following:
- GPU
- Storage drives
- Additional RAM modules
- External peripherals
Keep only:
- CPU
- One RAM module
- Power supply
- CPU cooler
Press the power button and observe behavior. Successful power-on with minimal components suggests that removed hardware caused the issue.
Step 4: Use Motherboard Speaker Beep Codes
Install a small motherboard speaker to detect BIOS beep codes.
Listen for patterns such as:
- Single short beep: System passed POST successfully.
- Continuous beeps: RAM or power issue detected.
- Repeated long beeps: Memory failure suspected.
- No beep: CPU or motherboard failure likely.
Each motherboard manufacturer defines specific beep codes. Refer to the manual to interpret patterns correctly.
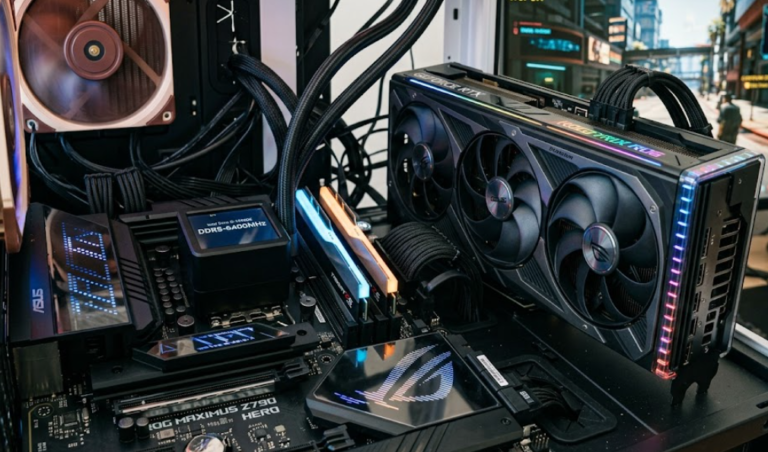
Step 5: Test RAM Slots Individually
Faulty memory slots cause boot failures even with working RAM.
Follow this sequence:
- Insert one RAM module into the first slot.
- Attempt system startup.
- Move the RAM module to the next slot.
- Repeat until all slots are tested.
A system that boots in only one slot indicates motherboard slot failure.
Step 6: Check CPU Socket and Processor
CPU installation errors create symptoms similar to motherboard damage.
Inspect these areas:
- CPU alignment markers
- Thermal paste distribution
- CPU cooler pressure
- Socket pin condition
Remove the processor carefully and reinstall it with correct orientation.
Step 7: Reset BIOS Using CMOS Battery
Corrupted BIOS settings prevent system startup.
Reset BIOS by following these steps:
- Turn off the system.
- Disconnect power cable.
- Remove the CMOS battery.
- Wait 5 to 10 minutes.
- Reinstall the battery.
- Power on the system.
Successful startup after reset confirms configuration corruption instead of hardware failure.
Step 8: Test Using a Multimeter
A digital multimeter helps measure voltage output from motherboard circuits.
Measure these voltage rails:
- 12V rail
- 5V rail
- 3.3V rail
Incorrect voltage levels indicate regulator or power circuit damage.
Typical voltage ranges:
- 12V rail: 11.4V to 12.6V
- 5V rail: 4.75V to 5.25V
- 3.3V rail: 3.14V to 3.47V
Out-of-range readings confirm electrical malfunction.
Step 9: Check POST LEDs or Debug Display
Modern motherboards include diagnostic LEDs or code displays.
Common indicators include:
- CPU LED
- DRAM LED
- VGA LED
- BOOT LED
A persistent LED signals the failing hardware category.
Step 10: Test With Known Working Components
Replace suspected components one at a time.
Swap these items:
- RAM module
- Power supply
- CPU
- Graphics card
Successful boot with replacement components confirms original hardware failure.
Motherboard Testing Methods, Tools, Symptoms, and Maintenance
Motherboard testing extends beyond basic startup checks. Understanding related topics improves troubleshooting accuracy and long-term reliability.
Common Signs of a Faulty Motherboard
Recognizing symptoms helps prioritize diagnostic steps.
Frequent motherboard failure symptoms include:
- No power response when pressing the power button
- System shutdown without warning
- Blue screen errors during startup
- USB ports not functioning
- Display failure despite working monitor
- Burning smell from the case
- Random system freezing
Persistent symptoms across multiple components strongly indicate motherboard malfunction.
Tools Required to Test a Motherboard
Professional technicians use specialized tools for accurate testing.
Essential tools include:
- Digital multimeter
- POST diagnostic card
- Motherboard speaker
- Thermal camera
- Anti-static wrist strap
- Power supply tester
Each tool provides diagnostic data that improves failure identification.
How to Test a Motherboard Without CPU
Testing without a processor helps confirm power delivery behavior.
Follow these steps:
- Remove the CPU from the socket.
- Connect the power supply.
- Press the power button.
- Observe fan rotation and LED signals.
Fans that spin briefly indicate partial power delivery. No response suggests motherboard or PSU failure.
How to Test a Motherboard Without RAM
RAM removal produces predictable POST behavior.
Expected outcomes:
- Motherboard emits beep codes.
- Diagnostic LEDs indicate memory error.
- System does not boot into BIOS.
No error signal often confirms motherboard failure.
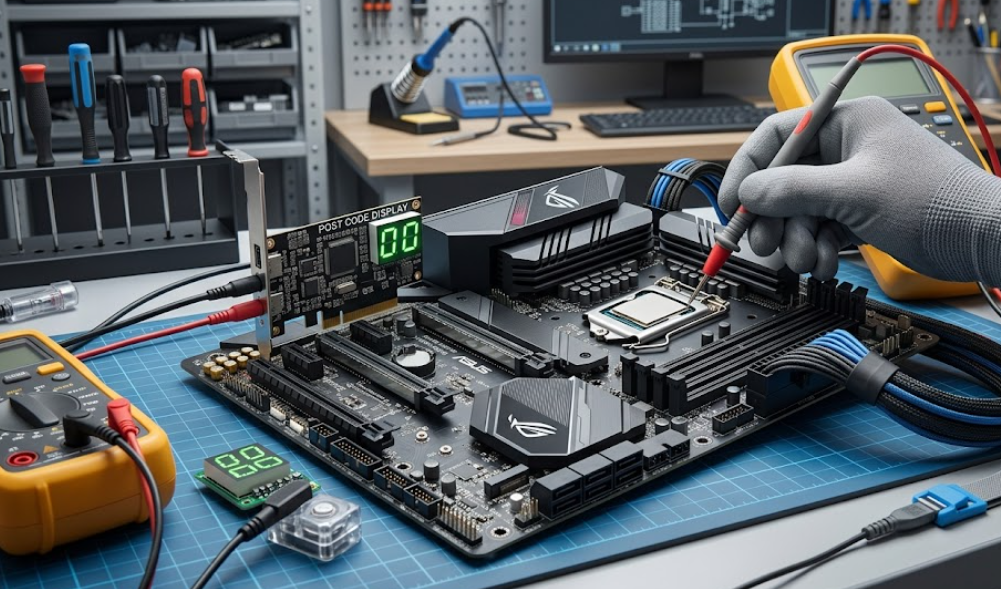
How to Test a Motherboard With a POST Card
A POST card displays BIOS codes during startup.
Procedure includes:
- Insert the POST card into PCI or PCIe slot.
- Power on the motherboard.
- Observe displayed hexadecimal codes.
- Match codes with documentation.
Displayed codes identify the failing subsystem.
BIOS Corruption and Firmware Testing
BIOS corruption prevents successful POST completion.
Testing steps include:
- Update BIOS using recovery tools.
- Reflash firmware using manufacturer utility.
- Verify compatibility with installed CPU.
Firmware recovery restores motherboard functionality in many cases.
How to Check Motherboard Power Supply Circuits
Voltage regulator modules distribute stable power across components.
Technicians test:
- MOSFET temperature levels
- Inductor continuity
- Voltage regulator outputs
Overheating regulators often indicate short circuits.
Preventive Maintenance for Motherboard Health
Preventive maintenance extends motherboard lifespan.
Recommended practices include:
- Maintain dust-free airflow paths.
- Replace failing cooling fans.
- Avoid power surges using surge protectors.
- Update BIOS periodically.
- Monitor system temperature.
Stable environmental conditions reduce electrical stress.
When to Replace a Motherboard
Replacement becomes necessary when repair costs exceed value.
Typical replacement conditions include:
- Burned PCB layers
- Multiple failed power phases
- Irreversible BIOS corruption
- Socket damage beyond repair
Modern consumer motherboards typically last 5 to 10 years under normal usage.
Frequently Asked Questions (FAQ)
How do I know if my motherboard is dead?
A motherboard is likely dead when the system shows no power response, no POST signals, and no LED activity despite a working power supply. Repeated testing with verified components confirms failure.
Can a motherboard be tested without turning it on?
Partial testing occurs without powering the system. Visual inspection identifies capacitor damage, burned traces, and physical faults. Full testing requires power to evaluate voltage delivery.
What causes motherboard failure?
Common causes include:
- Power surges
- Overheating
- Liquid damage
- Dust buildup
- Faulty power supply units
- Manufacturing defects
Electrical instability remains the leading cause.
Can RAM cause motherboard testing failure symptoms?
Faulty RAM creates symptoms similar to motherboard failure. Examples include boot failure and beep errors. Testing RAM modules individually helps isolate the fault source.
How long does motherboard testing take?
Basic testing takes 15 to 30 minutes. Advanced diagnostics using multimeters or POST cards may require 1 to 2 hours depending on system complexity.
Conclusion
Testing a motherboard requires systematic verification of power delivery, component functionality, and firmware stability. Structured diagnostics reduce misdiagnosis and unnecessary hardware replacement. Accurate inspection methods, correct tools, and logical troubleshooting steps allow reliable identification of motherboard faults. Routine maintenance and environmental control improve motherboard lifespan and system reliability.