How to Build Your First Gaming PC on Budget?
Building your first gaming PC may feel confusing, but it becomes simple when you follow clear steps and stay within a realistic budget. This guide explains each part, shows how to assemble components, and helps you spend money wisely without sacrificing smooth gameplay performance for beginner level gaming systems today.
Choose Budget Parts and Assemble Your First Gaming PC
Building a budget gaming PC starts with selecting balanced components and assembling them in the correct order. Follow these practical steps to complete the process without wasting money.
Step 1: Set a Realistic Budget
Start by defining a fixed spending limit. Most entry-level gaming PCs cost between 500 USD and 800 USD. Lower budgets require careful part selection. Higher budgets allow better graphics and faster performance.
Allocate money based on importance.
- Graphics card: 30 percent to 40 percent of budget
- Processor: 20 percent to 25 percent
- Motherboard: 10 percent to 15 percent
- Memory and storage: 15 percent to 20 percent
- Power supply and case: 10 percent to 15 percent
This distribution prevents performance bottlenecks.
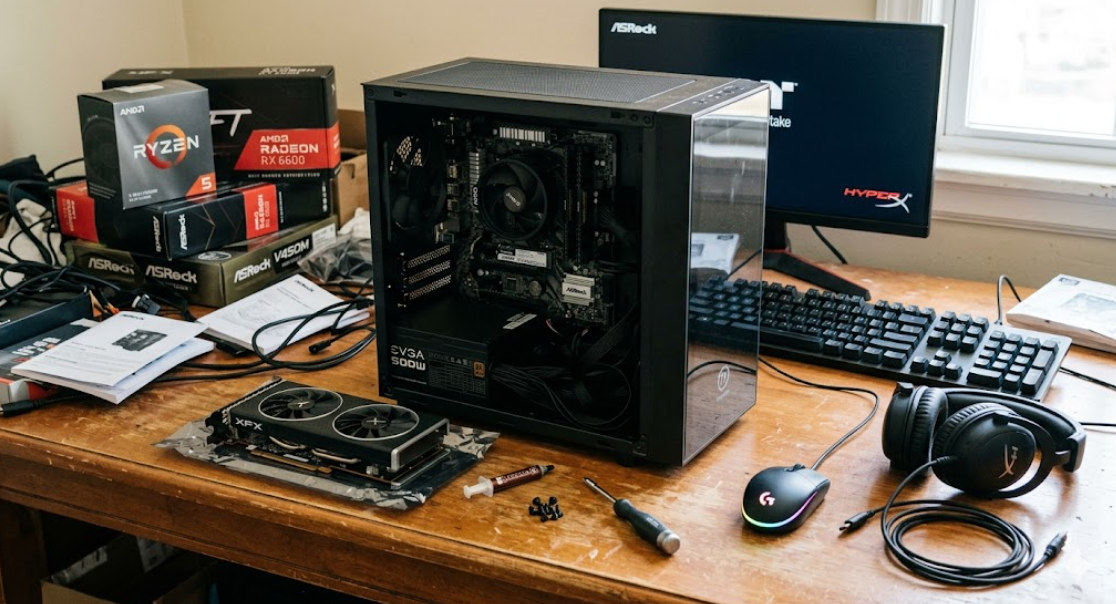
Step 2: Select Core Components Carefully
Each component plays a specific role in gaming performance. Choose parts that match each other in compatibility and performance level.
Essential components for a budget gaming PC
- Processor (CPU): A quad-core or six-core processor works well for entry-level gaming. Clock speeds between 3.5 GHz and 4.5 GHz provide stable performance.
- Graphics card (GPU): Choose an entry-level GPU with at least 4 GB to 8 GB video memory. This component controls gaming visuals and frame rate.
- Motherboard: Select a board that supports your processor socket type and memory generation.
- Memory (RAM): Install 16 GB RAM for modern games. Minimum speed should be 3000 MHz to 3200 MHz.
- Storage: Use a solid-state drive (SSD) with at least 500 GB capacity for fast game loading.
- Power supply (PSU): Choose a power unit with 500 W to 650 W rating and efficiency certification.
- Case: Select a case with airflow vents and space for future upgrades.
Always check compatibility before buying parts.
Step 3: Prepare Workspace and Tools
Assembly becomes easier when the workspace remains clean and organized. Use a flat surface with proper lighting.
Required tools
- Phillips-head screwdriver
- Anti-static wrist strap
- Thermal paste
- Cable ties
- Small container for screws
Disconnect power sources before starting installation.
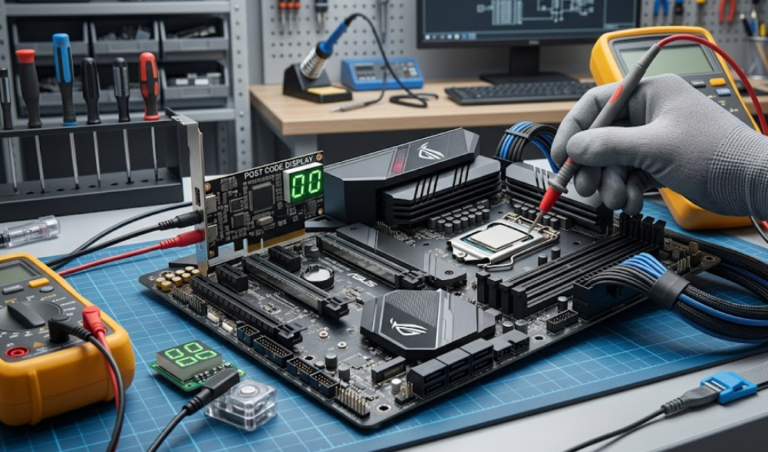
Step 4: Install Processor and Cooler
Start with the motherboard outside the case. Place the motherboard on a non-conductive surface.
Follow these actions.
- Open the processor socket lever.
- Align processor pins with the socket indicator.
- Place the processor gently into position.
- Lock the socket lever firmly.
- Apply a small drop of thermal paste on the processor center.
- Attach the CPU cooler and secure screws evenly.
Correct cooler installation prevents overheating.
Step 5: Install Memory Modules
Memory modules connect directly to the motherboard memory slots.
Perform installation carefully.
- Open memory slot latches.
- Align memory notch with slot design.
- Press memory firmly until latches click.
Install modules in recommended dual-channel slots for better speed.
Step 6: Install Motherboard Inside Case
Place the motherboard into the computer case after installing processor and memory.
Follow these actions.
- Install metal standoffs inside the case.
- Align motherboard with rear panel openings.
- Secure motherboard using screws.
Do not overtighten screws to avoid board damage.
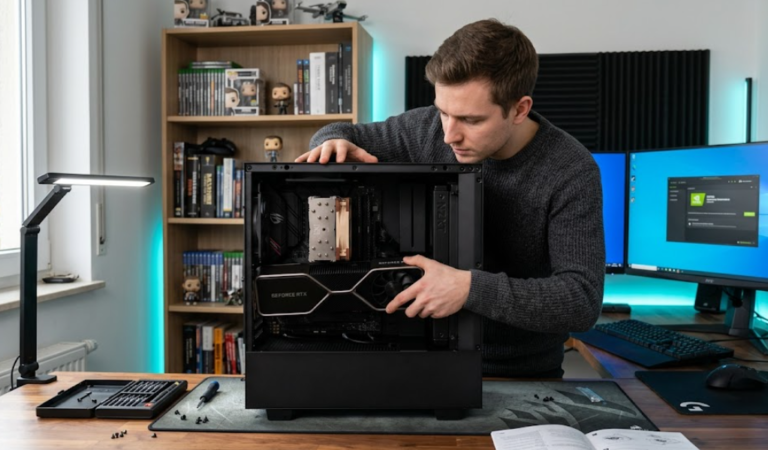
Step 7: Install Storage and Graphics Card
Storage and graphics installation defines gaming capability.
Storage installation
- Mount SSD into drive tray.
- Connect SATA or NVMe cable.
- Secure drive with screws.
Graphics card installation
- Insert GPU into PCIe slot.
- Lock GPU into place.
- Attach required power connectors.
A stable GPU connection improves visual performance.
Step 8: Connect Power Supply and Cables
Power connections supply electricity to all components.
Follow these connections.
- Connect motherboard power cable.
- Connect processor power cable.
- Attach GPU power cable.
- Connect storage power cable.
- Attach case fan connectors.
Use cable ties to keep wiring organized.
Step 9: Power On and Install Operating System
After assembly, connect monitor, keyboard, and mouse.
Turn on the system and enter setup screen.
- Confirm memory detection.
- Confirm storage detection.
- Set boot priority to installation drive.
- Install operating system.
Install graphics drivers and motherboard drivers after operating system installation.
Budget Planning Strategies for First-Time Builders
Smart planning reduces unnecessary expenses and improves long-term performance value.
Buy Components in Phases
Buying all parts at once increases cost pressure. Phase-based buying helps maintain financial control.
Advantages of phased buying
- Allows monitoring of seasonal price drops
- Reduces financial burden
- Provides time to research component compatibility
Wait for discounts during sales seasons when possible.
Choose Value-Oriented Components
Budget gaming PCs rely on balanced performance rather than premium branding.
Focus on these value indicators.
- Performance benchmarks within target games
- Warranty length between 2 years and 5 years
- Stable power consumption ratings
- Positive compatibility reviews
Avoid paying extra for unnecessary decorative features.
Consider Used Hardware Carefully
Used components can reduce total system cost. However, careful inspection remains essential.
Safe used component options
- Graphics cards with verified testing
- Computer cases without physical damage
- Storage drives with health reports
Avoid used power supplies because reliability risks remain high.
Essential Features to Prioritize in Budget Gaming PCs
Performance stability depends on choosing features that support smooth gameplay.
Focus on Graphics Performance
Graphics performance controls gaming resolution and visual quality.
Key graphics considerations include:
- Video memory between 6 GB and 8 GB
- Support for modern graphics standards
- Stable temperature management
- Driver support compatibility
Lower-tier GPUs still deliver acceptable performance in medium settings.
Maintain Sufficient Memory Capacity
Modern games require more memory than earlier titles.
Recommended memory values include:
- Minimum capacity: 16 GB
- Recommended capacity: 16 GB to 32 GB
- Speed range: 3000 MHz to 3600 MHz
Higher memory speed improves game loading responsiveness.
Use Fast Storage Drives
Storage speed directly affects loading time and system responsiveness.
Storage advantages
- SSD reduces game loading time by 40 percent to 70 percent
- NVMe storage improves data transfer speed
- Faster boot time improves system startup efficiency
Install frequently played games on SSD storage.
Cooling and Airflow Tips for Budget Gaming PCs
Temperature control improves hardware life span and gaming stability.
Select Cases With Airflow Support
Airflow design reduces overheating risks.
Choose cases with:
- Front air intake vents
- Rear exhaust fan support
- Cable management space
- Dust filters
Proper airflow prevents sudden shutdowns.
Install Additional Case Fans When Needed
Additional fans improve internal temperature balance.
Recommended fan configuration includes:
- One front intake fan
- One rear exhaust fan
- Optional top exhaust fan
Monitor internal temperatures after installation.
Upgrade Planning for Future Gaming Performance
Upgrade readiness increases system longevity without rebuilding the entire PC.
Leave Room for Hardware Expansion
Choose cases and motherboards that support expansion slots.
Future upgrades may include:
- Larger storage capacity
- Higher graphics performance
- Additional memory modules
- Advanced cooling systems
Expansion support protects long-term investment value.
Monitor System Performance Trends
Performance monitoring helps identify upgrade timing.
Track these indicators.
- Frame rate drop below playable levels
- Slow loading speed increase
- System temperature rise
- Game compatibility warnings
Upgrade components before performance declines significantly.
Common Mistakes to Avoid During Budget PC Building
Avoiding common mistakes prevents wasted time and damaged hardware.
Ignoring Compatibility Checks
Compatibility mismatches cause system failure.
Always confirm:
- Processor socket type
- Memory generation type
- Power supply wattage capacity
- Case size compatibility
Check compatibility charts before purchasing parts.
Using Low-Quality Power Supplies
Power supply quality directly affects hardware safety.
Low-quality power units create:
- Power instability
- Component failure risk
- Reduced system lifespan
Select reliable power units with certified efficiency ratings.
Skipping Cable Management
Poor cable management restricts airflow and increases heat buildup.
Organize cables using ties and routing channels.
Clean cable placement improves airflow efficiency.
Frequently Asked Questions
Can a gaming PC work without a graphics card?
Integrated graphics support basic gaming but limit visual performance.
Is WiFi required for gaming PCs?
Wired internet connections provide more stable gaming speed than wireless connections.
Do gaming PCs need special keyboards?
Standard keyboards work, but gaming keyboards improve control precision.
Can a gaming PC connect to a television?
Most gaming PCs connect to televisions using HDMI output ports.
Is RGB lighting necessary for gaming performance?
RGB lighting improves appearance only and does not affect gaming speed.
Conclusion
Building a budget gaming PC creates strong technical confidence and improves understanding of hardware performance relationships. Careful component selection, proper installation methods, and realistic upgrade planning produce reliable gaming results over several years. Consistent maintenance and smart upgrades keep the system capable of handling new gaming demands effectively.